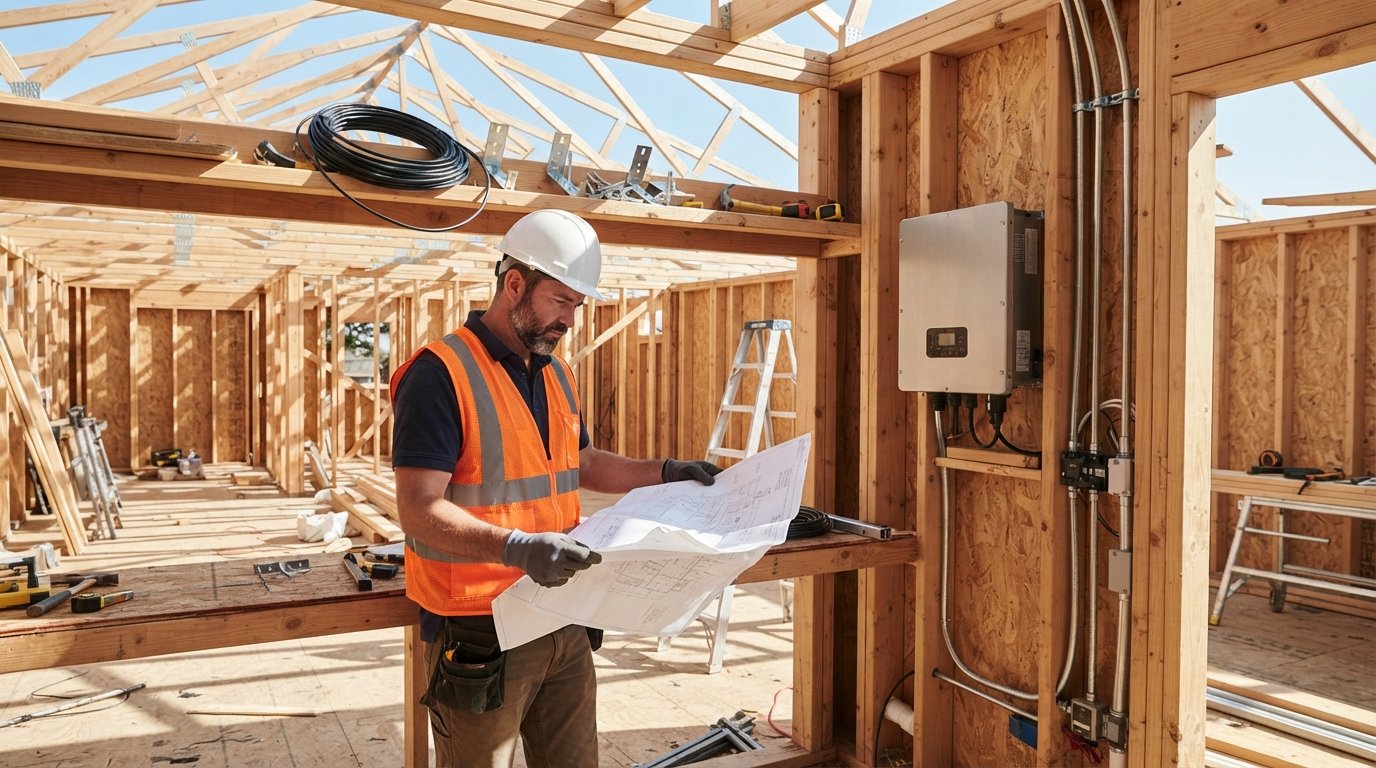
Solar Ready New Construction: Home Builder Checklist
Use this solar ready new construction home builder checklist to avoid costly retrofits. Call (833)-434-4023 for expert solar guidance.

Learn more about Solar Panel Installation and Repair for guides, costs, and what to expect.
Compare Solar Panel Installation and Repair Pros Near You

Enter your ZIP code to compare top-rated local professionals and request free quotes.
Building a new home is the best chance you will ever have to make solar power cheap, clean, and easy. Retrofit solar is fine, but every wire that has to be fished through a finished wall, every extra foot of conduit run across a roof, and every panel that has to be relocated because the electrical service is full adds cost and hassle. A solar ready new construction home builder checklist solves that problem before the drywall goes up. It is a short list of structural, electrical, and documentation decisions that cost very little during construction and save thousands later. This guide walks through the checklist item by item, explains why each one matters, and flags the shortcuts that most often raise later installation prices.
Why Solar Ready Construction Beats Retrofit Solar
Solar ready construction means the home is designed and wired so that a future photovoltaic system can be installed quickly, safely, and at the lowest possible cost. The concept is simple: decide where the panels, inverter, and conduit will go while the framing is open, then install the pathways and blocking needed to support them. When the homeowner is ready to add panels, the installer arrives to a prepared site instead of a puzzle.
The financial case is strong. Retrofit installations often require conduit run on the exterior of the home, which is visible and sometimes prohibited by homeowner association rules. They may require service panel upgrades, roof penetrations in awkward locations, and trenching for underground lines. Each of those items adds labor and materials. According to the U.S. Department of Energy, solar ready construction typically adds a small fraction of the total home cost while reducing future installation costs significantly. For a builder, that is a marketable feature. For a buyer, it is a hedge against rising electricity prices.
There is also a practical case. A solar ready home can be marketed as future proof. Buyers who are not ready to buy panels today still value the option, and buyers who are ready can move quickly. Builders who standardize the checklist also reduce callbacks and warranty issues because the pathways and mounting points are planned rather than improvised.
The Core Solar Ready New Construction Home Builder Checklist
The checklist below covers the items that matter most in residential construction. It is organized by phase, from lot selection through closing. Not every item applies to every home, but skipping any of them without a deliberate reason usually costs more later.
Site and Roof Planning
Start with orientation and shading. The ideal roof face for solar in the United States points south, with east and west faces also productive. During design, identify the roof planes that will host panels and confirm they are not shaded by chimneys, dormers, or future trees. If the best roof face is small, consider a ground mount or a detached structure such as a garage or carport. The goal is to reserve a clear, unshaded area of at least 300 to 400 square feet for a typical residential array, though larger homes may need more.
Structural blocking is the next item. Solar panels and mounting hardware add weight, and the racking must be anchored to framing, not just sheathing. Specify blocking in the roof framing plan at the locations where rails will attach. Blocking is inexpensive during framing and expensive after the roof is finished. If the roof is a standing seam metal roof, specify clamps that attach without penetrations; if it is composition shingle, plan for flashed mounts. Either way, the framing plan should show where the mounts will land.
Conduit and Wiring Pathways
This is the item builders most often skip. A solar array needs a code compliant pathway from the roof to the inverter and from the inverter to the main electrical service panel. The cleanest approach is to install a dedicated conduit, often 1 inch or 1.25 inch electrical metallic tubing or PVC, from the attic or roof penetration point down to the inverter location and then to the service panel. The conduit can be capped and left empty until solar is installed. It should be sized for the future system, not just a token run, and it should have pull points (junction boxes) at bends so wire can be pulled later.
Run the conduit inside the building envelope where possible. Exterior conduit is acceptable but visible, and some jurisdictions and homeowner associations restrict it. If the conduit must run outside, place it on a side of the house that is less visible and paint it to match. Also plan a pathway from the inverter location to the main panel; if the inverter is in the garage, the run may be short, but if it is on an exterior wall, the run may be longer. The key is to decide early and install the pathway before insulation and drywall.
Electrical Service Panel Capacity
The main electrical service panel must have enough capacity for the future solar system. A common rule is to leave two adjacent breaker spaces open for the solar backfeed breaker, and to ensure the busbar rating supports the added current. Many modern homes have 200 amp service, which is usually sufficient for a residential solar system, but the panel must be rated for the backfeed. If the panel is a 100 amp service or a smaller meter main, a service upgrade may be needed later, which is a significant expense. During construction, specify a panel with a busbar rating that allows a solar backfeed breaker sized at 125 percent of the inverter output, per National Electrical Code requirements. Your electrician should confirm the calculation.
Also consider future load growth. If the homeowner plans to add an electric vehicle charger, heat pump, or battery storage, the panel should have capacity for those loads as well. A solar ready home is also an electric ready home. If the budget allows, a 200 amp panel with a dedicated solar subpanel or a panel with a dedicated solar section is a smart choice. The extra cost during construction is small compared with a service upgrade later.
Inverter Location and Clearance
The inverter is the heart of the solar system, and its location matters. It should be mounted in a shaded, ventilated location, ideally on a north or east facing wall or inside a garage, because heat reduces inverter efficiency and lifespan. It must be accessible for service and within sight of the main service panel or have a disconnect within sight, depending on local code. Clearances vary by manufacturer and jurisdiction, but a common requirement is 36 inches of working space in front of the inverter and 12 inches on the sides and top. Plan the wall space accordingly and do not place the inverter where it will be blocked by stored items, a water heater, or a vehicle.
If battery storage is planned, reserve wall or floor space near the inverter for the battery and its disconnects. Batteries have their own clearance and ventilation requirements, and some jurisdictions require them to be installed on exterior walls or in garages with specific fire separation. Deciding the inverter and battery locations during design avoids expensive relocation later. It also allows the conduit runs to be shortened and hidden.
Roof Age and Material Considerations
Solar panels can last 25 to 30 years, so the roof under them should have comparable life. If the home is new construction, the roof is new, which is ideal. But if the builder uses a roof material with a shorter lifespan, such as certain organic shingles, the homeowner may face a roof replacement while the panels are still productive. That means removing and reinstalling the array, which is costly. Specify a roof material with a long warranty and a proven track record under solar, such as architectural asphalt shingles, standing seam metal, or concrete tile. For tile roofs, specify mounting hardware designed for tile and plan for tile replacement stock.
Also plan for roof penetrations. Each mount that penetrates the roof must be flashed correctly to prevent leaks. Some builders prefer to install a solar ready underlayment or a peel and stick membrane in the array area for extra protection. That is a low cost upgrade during construction. If the roof is not yet installed, the framing plan and underlayment plan should show the array zone.
Documentation and Labeling
A solar ready home should come with documentation. At closing, the homeowner should receive a package that includes the as built electrical drawings showing the solar conduit pathway, the panel schedule with the reserved solar breaker spaces, the structural blocking plan, and the inverter and battery locations. The package should also include the manufacturer and model of the service panel, the busbar rating, and the roof material and warranty information. Labels are important too. The electrical panel should be labeled to indicate the reserved solar breaker spaces, and the conduit should be labeled at both ends. These details save the solar installer time and reduce the chance of errors.
If the builder offers a solar prewire option, the documentation should include the prewire scope: conduit size, wire type and gauge if installed, junction box locations, and the location of the future inverter. The homeowner should also receive any warranties related to the solar ready work, such as the conduit installation warranty. This documentation is part of the value of a solar ready home and should be treated as a deliverable, not an afterthought.
Common Builder Shortcuts That Raise Later Install Costs
Even builders who intend to be solar ready sometimes take shortcuts that create problems. The most common is the missing or undersized conduit. A builder may run a small conduit for a future solar circuit but size it for a 3 kilowatt system when the homeowner later wants 8 kilowatts. Upsizing conduit during construction is cheap; replacing it later is not. Another shortcut is failing to reserve breaker space. If the panel is full, the solar installer must add a subpanel or upgrade the service, which can add thousands of dollars. A third shortcut is placing the inverter in a location that is hard to access or exposed to direct sun, which shortens its life and may require relocation.
Other shortcuts include skipping structural blocking, which forces the installer to add mounts that penetrate the roof in less ideal locations or to use ballasted mounts that may not be suitable for the roof type. Builders also sometimes install a roof with a short lifespan, which forces the homeowner to choose between replacing the roof before solar or paying for removal and reinstallation later. Finally, some builders fail to provide documentation, which means the solar installer must spend time tracing circuits and verifying capacity, and those hours show up on the invoice.
If you are a homeowner evaluating a builder, ask specific questions. Does the base price include a solar conduit? What size? Where does it run? What is the busbar rating of the service panel? Where is the inverter planned to go? Will I receive as built drawings at closing? Builders who can answer these questions clearly are more likely to deliver a truly solar ready home. Builders who cannot may be using the term loosely.
How Solar Ready Construction Fits With Energy Management
Solar ready construction is the first step toward a smart energy home. Once the conduit and panel capacity are in place, the homeowner can add solar, battery storage, and smart controls without major construction. Modern energy management systems can shift loads to coincide with solar production, charge batteries when rates are low, and reduce waste. In our guide on how AI improves energy efficiency for home solar, we explain how software can optimize self consumption and shorten payback. A solar ready home is ready for those upgrades because the wiring and capacity are already there.
For builders, offering a solar ready package that includes conduit, panel capacity, and documentation is a differentiator. It also aligns with utility and code trends. Some jurisdictions now require solar ready provisions for new construction, and more are likely to follow. Even where it is not required, buyers are increasingly aware of energy costs and resilience. A solar ready home is easier to sell and easier to insure, because the electrical system is documented and the solar installation is straightforward.
Homeowners who are planning a renovation or repair alongside new construction should also consider the broader service ecosystem. For general repairs and maintenance that fall outside solar, platforms like Repairmen connect homeowners with vetted local professionals for plumbing, electrical, HVAC, and remodeling work, which can be useful when coordinating pre solar upgrades such as roof repairs or panel replacements.
Checklist Summary and Next Steps
Here is the checklist in a compact form. Use it during design and construction, and verify each item before closing.
- Identify the solar array zone on the roof and confirm it is unshaded and large enough for the planned system.
- Specify structural blocking at mount locations and show it on the framing plan.
- Install a dedicated, correctly sized conduit from the roof to the inverter location and from the inverter to the service panel, with pull points.
- Specify a service panel with sufficient busbar rating and reserve two adjacent breaker spaces for solar.
- Choose an inverter location that is shaded, ventilated, accessible, and meets clearance requirements; reserve space for a future battery if desired.
- Use a long lived roof material and plan flashing and underlayment for the array zone.
- Provide as built drawings, panel schedules, equipment documentation, and labels at closing.
Each item on this checklist is inexpensive during construction and expensive to retrofit. That is the core argument for solar ready new construction. The builder who follows the checklist delivers a home that is ready for solar at the lowest possible cost, and the homeowner who asks for it avoids the surprise costs that come from a rushed retrofit.
If you are a homeowner planning a new build, ask your builder to include these items in the contract and to document them at closing. If you are a builder, standardize the checklist and use it as a selling point. To compare solar options and get quotes from vetted installers when the time comes, use the resources at SolarEnergy.ai, including the solar savings calculator and the incentives guide. A little planning now makes clean energy simple later.
Learn more about Solar Panel Installation and Repair for guides, costs, and what to expect.
Compare Solar Panel Installation and Repair Pros Near You
Enter your ZIP code to compare top-rated local professionals and request free quotes.