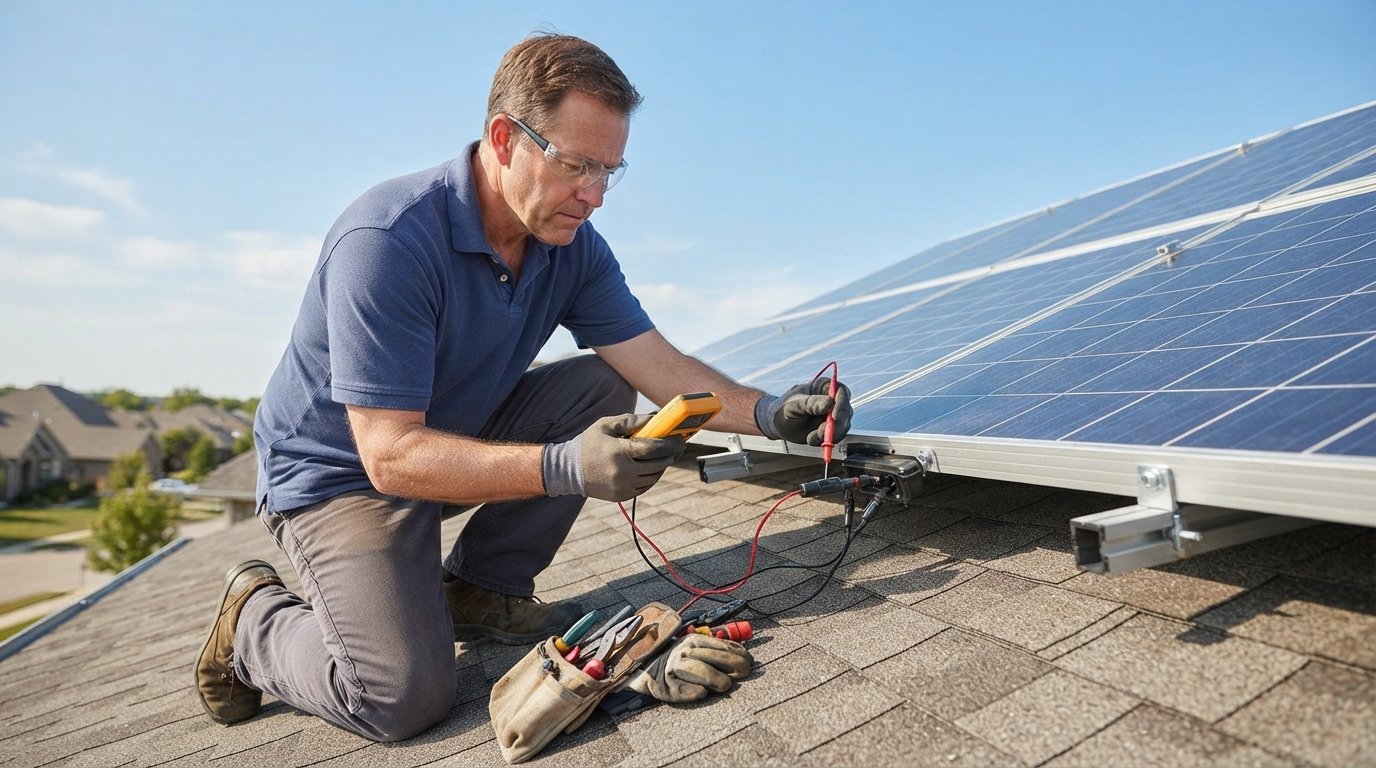
Solar Panel Voltage Checking With a Multimeter: Homeowner Guide
Measure solar panel voltage safely with a multimeter. Call (833)-434-4023 for expert help with diagnostics and repairs.

By Adam Adler
Learn more about Solar Panel Installation and Repair for guides, costs, and what to expect.
Compare Solar Panel Installation and Repair Pros Near You

Enter your ZIP code to compare top-rated local professionals and request free quotes.
Your solar panels have been humming along for years, and then one day the monitoring app shows a sudden drop in production. Or maybe you just bought a home with an existing array and want to verify everything is working as it should. Before you call an installer, a simple multimeter test can tell you whether you are dealing with a minor glitch or a serious fault. This solar panel voltage checking with a multimeter homeowner guide walks you through the safe, practical steps to measure open-circuit voltage, interpret the numbers, and decide when to bring in a professional. With a few basic tools and a healthy respect for DC electricity, you can diagnose many common issues yourself and avoid unnecessary service calls.
Why Voltage Checks Matter for Homeowners
Solar panels produce direct current (DC) electricity whenever sunlight hits them. Even a single panel can generate dangerous voltage, and a full string can reach 600 volts or more. A multimeter lets you measure that voltage without disconnecting anything, giving you a window into the health of your system. Regular voltage checks can catch failing panels, loose connections, or tripped safety devices before they turn into costly repairs or safety hazards.
For homeowners, the main benefits of learning to check voltage are early fault detection, better communication with installers, and confidence in your system's performance. If you notice a drop in output, a quick voltage reading can confirm whether the problem is at the panel level or elsewhere. This guide focuses on the practical steps, but keep in mind that any work on solar wiring should follow your system's manual and local electrical codes. When in doubt, consult a licensed professional.
Safety First: Gear and Shutdown Steps
Before you touch any wiring, understand that solar panels are live whenever there is light. You cannot simply switch them off. The only way to make them safe is to cover them completely with an opaque material or perform measurements at night. For most homeowners, the safest approach is to work at the combiner box or inverter disconnect, where you can isolate strings without climbing on the roof.
Here is the safety gear and shutdown sequence you should follow before taking any measurements:
- Personal protective equipment: Wear insulated gloves rated for at least 1000V, safety glasses, and non-conductive footwear. Avoid wearing metal jewelry.
- Shut down the inverter: Turn off the DC disconnect switch (if present) and the AC disconnect, then follow the manufacturer's shutdown procedure. This stops power export but does not de-energize the panels themselves.
- Isolate strings: At the combiner box, open the string fuses or disconnects to separate each string. This prevents backfeed and allows you to measure individual strings safely.
- Verify zero voltage: Use your multimeter to confirm that the section you plan to work on is de-energized. Test the meter on a known live source first to ensure it works.
Even after shutdown, the panels and their wiring up to the disconnect remain live. Never assume a wire is safe just because the inverter is off. If your system uses microinverters or power optimizers, the DC wiring may be safer after shutdown, but the AC side can still be live. Always treat every conductor as energized until proven otherwise.
Reading Open-Circuit Voltage (Voc) and Comparing to Specs
Open-circuit voltage (Voc) is the voltage a panel produces when no current is flowing. It is the easiest measurement to take and the most useful for diagnosing panel health. You can measure Voc at the panel's junction box, at the string level, or at the combiner box. The key is to compare your reading to the panel's specification sheet, which lists Voc under standard test conditions (STC: 1000 W/m2 irradiance, 25°C cell temperature).
To measure Voc, set your multimeter to DC volts (auto-range or the 200V scale for a single panel, 600V or higher for a string). Connect the red probe to the positive terminal and the black probe to the negative terminal. The meter will display the voltage. For a single panel, expect a reading close to the nameplate Voc, typically between 30V and 50V for residential panels. For a string, multiply the panel Voc by the number of panels in series, then adjust for temperature.
Temperature matters: Voc increases in cold weather and decreases in heat. A panel rated at 40Voc might read 44V on a cold morning and 36V on a hot afternoon. To make a fair comparison, note the ambient temperature and use the panel's temperature coefficient (usually around -0.3%/°C) to estimate the expected Voc. If your reading is within 5-10% of the temperature-adjusted value, the panel is likely healthy. A significantly lower reading suggests a problem.
For a more advanced approach, you can use the open-circuit voltage to estimate the panel's performance ratio. If you have multiple panels, compare their Voc readings under the same conditions. A panel that reads noticeably lower than its neighbors is suspect. This comparative method is powerful because it cancels out temperature and irradiance variations.
Interpreting Abnormal Readings: Failed Panel, Optimizer, or Fuse
When a voltage reading is low or zero, the cause could be a failed panel, a faulty optimizer, a blown string fuse, or a wiring issue. The pattern of readings across the string helps you narrow it down. For example, if one panel in a string reads zero while the others are normal, that panel or its connectors are likely at fault. If the entire string reads zero, the problem may be a blown fuse, a tripped breaker, or a disconnected home run cable.
Here is how to interpret common scenarios:
- Single panel reads zero: Check for disconnected cables, a cracked junction box, or a failed bypass diode. If the panel is physically damaged, replace it.
- One panel reads significantly lower than others: This often indicates partial shading, a failing panel, or a bad optimizer. Swap the panel with a known-good one to confirm.
- Entire string reads zero: Inspect the string fuse at the combiner box. A blown fuse suggests a short circuit or reverse current. Do not replace the fuse without finding the cause.
- String voltage lower than expected but not zero: Could be a loose connection, corrosion, or a panel with high series resistance. Check all connectors and measure each panel individually.
If your system uses power optimizers, each optimizer regulates the panel's output. A failed optimizer can drag down the entire string's voltage or cause it to shut off. In that case, you may see normal Voc at the panel but low voltage at the string level after the optimizer. Diagnosing optimizer faults usually requires the manufacturer's monitoring app or a specialized tool. For advanced monitoring techniques, see our guide on AI in solar panel efficiency.
When to Call a Professional
While voltage checks are within the reach of many homeowners, some situations demand a licensed solar technician. If you are uncomfortable working with live DC circuits, or if your system is mounted on a steep roof, do not attempt diagnostics yourself. Also, any reading that suggests a short circuit, ground fault, or arcing should be handled by a professional immediately.
Call a pro if you encounter any of the following: voltage at the combiner box does not match the sum of string voltages, you smell burning or see discolored wiring, a fuse blows repeatedly, or your inverter displays a ground fault error. These symptoms point to serious safety hazards that require specialized equipment and expertise. Additionally, if your system is under warranty, DIY diagnostics might void it. Check your warranty terms before probing anything.
For homeowners who want a thorough assessment without the risk, professional solar inspectors can perform a full IV curve trace and thermal imaging to pinpoint faults. Many installers offer free or low-cost inspections as part of a maintenance plan. If you are due for a checkup, consider scheduling one with a local provider. You can also request a free quote from vetted installers through FreeSolarPowerQuotes to compare service options.
Tools and Best Practices for Accurate Measurements
A basic digital multimeter with a DC voltage range of at least 600V is sufficient for most residential systems. Look for a meter with a CAT III 600V safety rating, which indicates it can withstand transient overvoltages. Avoid cheap meters with unclear safety ratings. Other useful tools include a clamp meter for current measurements, a non-contact voltage tester, and a set of MC4 adapter leads for connecting to panel connectors safely.
To get reliable readings, follow these best practices:
- Calibrate or verify your multimeter against a known voltage source before each session.
- Take measurements under stable sunlight conditions, ideally around solar noon.
- Record ambient temperature and time of day to adjust expectations.
- Clean probe tips and connectors to ensure good contact.
- Double-check that you are using the correct DC voltage range; using AC mode will give meaningless results.
Consistency is key. If you perform voltage checks regularly, you will build a baseline of normal readings for your system. Then, when something changes, you will spot it quickly. Keep a log of your measurements, including dates, temperatures, and any maintenance activities. This log can be invaluable if you ever need to file a warranty claim or discuss performance with your installer.
Common Mistakes to Avoid
Even experienced DIYers can make mistakes when testing solar panels. One common error is measuring voltage while the system is under load. Open-circuit voltage is measured with no current flowing, so disconnect the load first. Another mistake is assuming that a zero reading always means a dead panel. As noted earlier, a blown fuse or disconnected cable can produce the same result. Always trace the circuit before condemning a panel.
Another pitfall is ignoring temperature effects. A panel that reads 10% low on a hot day may be perfectly fine. Always adjust your expectations using the temperature coefficient. Finally, never bypass safety devices like fuses or disconnects to "test" a panel. These devices protect you and your equipment. If a fuse blows, find the fault before replacing it.
Putting It All Together: A Simple Diagnostic Workflow
With the safety steps and interpretation guidelines in mind, here is a streamlined workflow for checking your solar panel voltage. First, shut down the system and isolate the string you want to test. Second, measure the open-circuit voltage of each panel individually and compare to the spec sheet. Third, measure the string voltage and compare to the sum of panel voltages. Fourth, if a discrepancy exists, inspect connectors and fuses. Fifth, if the problem persists, call a professional.
This workflow will help you quickly identify the most common issues without exposing yourself to unnecessary risk. Remember that solar panels are durable and reliable, but they are not immune to failure. Regular voltage checks are a simple way to keep your system running at peak efficiency and protect your investment. For a deeper dive into optimizing performance, explore our resources on solar maintenance and advanced monitoring.
By following this solar panel voltage checking with a multimeter homeowner guide, you can take control of your system's health and make informed decisions about repairs. Whether you are a seasoned DIYer or a first-time solar owner, the ability to measure voltage safely is a valuable skill. Stay safe, measure carefully, and do not hesitate to seek professional help when needed.