Solar Panel Shading Impact Mitigation Strategies for Homeowners
Shade does not have to kill your solar savings. Call (833)-434-4023 to learn solar panel shading impact mitigation strategies for homeowners.

By Victor Walsh
Learn more about Solar Panel Installation and Repair for guides, costs, and what to expect.
Compare Solar Panel Installation and Repair Pros Near You

Enter your ZIP code to compare top-rated local professionals and request free quotes.
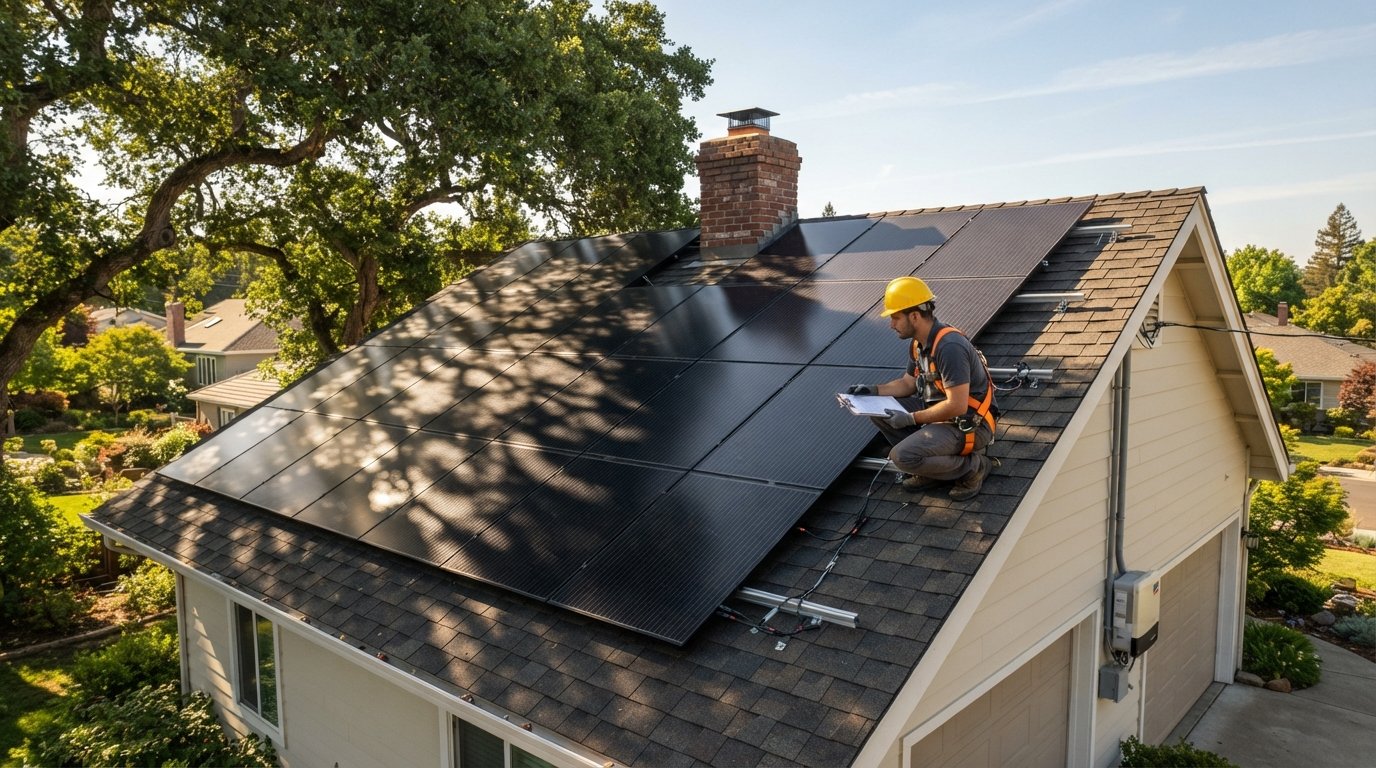
Your neighbor's oak tree looked harmless until the solar installer handed you a production estimate with a red warning label. Shade is one of the most misunderstood factors in residential solar, and it is also one of the most fixable. A single chimney shadow that drifts across a panel for two hours each morning can trim annual output, but the size of that loss depends far more on your system architecture than on the shadow itself. The good news for homeowners is that modern hardware, smart array design, and honest site analysis can turn a partially shaded roof from a dealbreaker into a manageable variable. This guide walks through how shade actually costs you energy, which mitigation strategies deliver the best return, and when a shaded property is better served by a community solar subscription instead of rooftop panels.
How Shading Actually Affects Solar Panel Output
Photovoltaic cells are wired in series, like old-fashioned holiday lights. In a traditional string inverter system, panels are connected in long chains, and the weakest panel in the chain drags down the performance of every panel behind it. That is why partial shading is so often exaggerated in its impact: it is not that the shaded panel produces less, it is that the entire string is throttled to the output of its most obstructed module. A vent pipe casting a thin shadow across one corner of one panel can reduce string production by a percentage far out of proportion to the physical area shaded.
The type of obstruction matters as much as its size. Hard, fixed objects like chimneys, dormers, and satellite dishes create sharp shadows that move predictably with the sun's path. Deciduous trees are more forgiving in winter when they drop their leaves but brutal in summer when the canopy is full. Evergreens cast consistent year-round shade, which is usually the most damaging pattern for a roof-mounted array. Even nearby power lines and the shadow of your own roof ridge can clip production during low-sun-angle hours in the morning and evening.
The practical takeaway is that shading losses are rarely uniform. They cluster in specific hours and seasons, which means a production model that reports a single annual percentage can hide significant detail. Homeowners who understand when their shade occurs, not just how much of it exists, are in a much stronger position to choose the right mitigation strategy.
Module-Level Power Electronics: Optimizers vs Microinverters
The single most effective hardware answer to shading is module-level power electronics, which is an umbrella term for DC optimizers and microinverters. Both approaches isolate each panel so that shading on one module does not cascade through the rest of the array. The difference lies in where the power conversion happens and what that means for your roof, your warranty, and your monitoring.
DC optimizers are installed behind each panel and perform maximum power point tracking at the module level, then send DC power to a central string inverter. Microinverters convert DC to AC directly at each panel, eliminating the central inverter entirely. For a shaded roof, both technologies recover most of the lost production that a plain string system would forfeit, but they suit different situations.
- DC optimizers are often the lower-cost choice for larger arrays and pair well with battery storage because the central inverter can be sized for future expansion.
- Microinverters shine on complex roofs with multiple orientations, small arrays, and heavy shade, since each panel operates fully independently.
- Monitoring granularity is excellent with both, but microinverters report per-panel AC production directly, which some homeowners find easier to interpret.
- Serviceability favors optimizers in one respect (the central inverter is at ground level) and microinverters in another (no single point of failure for the whole array).
Either option typically adds a modest premium per panel compared with a bare string system, but on a shaded roof that premium often pays for itself within a few years through recovered production. When you request quotes, ask each installer to model your roof with and without module-level electronics so you can see the projected difference in kilowatt-hours, not just a vague promise of better performance. If you want to understand how monitoring data from these devices feeds into smarter energy decisions, our guide on how AI improves energy efficiency for home solar explains how per-panel data becomes actionable.
Tree Trimming, Removal, and Array Relocation Tradeoffs
Hardware is only half the story. The physical environment around your roof is the other half, and sometimes the cheapest mitigation is a saw. Trimming branches that intrude on the solar window, roughly 9 a.m. to 3 p.m., can restore meaningful production at a fraction of the cost of new electronics. The catch is that trimming is rarely a one-time expense. Trees grow back, and a maintenance plan that budgets for periodic pruning is more honest than a single heroic cut.
Tree removal is a bigger decision with legal and emotional dimensions. A tree on your own property that shades the array may be worth removing if it is already unhealthy or poorly sited, but mature shade trees add property value and cooling benefits that can outweigh solar gains. Trees on a neighbor's property require a conversation, and in many jurisdictions you cannot legally remove them without consent. Before committing to removal, get a written production estimate from your installer showing the projected gain, then compare that gain against the removal cost and the lost shade benefits.
Relocating the array is the third option and often the smartest one. A ground-mounted system or a repositioned roof plane can dodge the worst shade entirely, and ground mounts also allow manual adjustment of tilt angle. The tradeoffs are space, aesthetics, and sometimes permitting. If your roof has one clean south-facing plane and one heavily shaded plane, a good designer will concentrate panels on the clean plane and leave the shaded one alone rather than filling every square foot. Homeowners planning broader improvements around this work may find it useful to browse vetted contractors through resources like PlanRemodel, which lists pre-vetted home improvement and repair professionals across the United States.
Shade Analysis Tools and What a Site Assessment Should Include
Every credible solar quote should begin with a shade analysis, not a guess. Installers use tools such as Solmetric SunEye handheld devices, drone-based imagery, and satellite modeling software to map the shade pattern across your roof over a full year. The output is typically a shade report showing production by hour and season, which lets you see exactly which panels are affected and when.
A thorough site assessment should include more than a roof measurement. Ask whether the installer performed an on-site shade reading or relied solely on satellite data, since satellite models can miss newly grown trees and nearby construction. The assessment should identify every obstruction, note which array positions are affected, and model production with the specific hardware being proposed. It should also flag roof age and condition, because installing panels on a roof that needs replacement in a few years is a costly sequencing mistake.
- Confirm the installer performed a physical shade reading, not just a remote estimate.
- Request the hourly or seasonal shade report, not only an annual production number.
- Ask for production modeling with and without module-level electronics.
- Verify that tree growth over the next decade was factored into the projection.
- Check that the proposed inverter or microinverter configuration matches the shade pattern.
If an installer cannot or will not provide this level of detail, that is useful information in itself. Shade is where lazy solar proposals go to hide, and a company that skips the analysis is likely to skip the follow-through as well. The same discipline applies to the financial side: verify current federal, state, and utility incentives against official sources, since rates and caps change, and ask how the installer's production guarantee handles underperformance caused by shade.
When Community Solar Is the Better Answer
Some properties are simply poor candidates for rooftop solar, and pretending otherwise wastes everyone's time and money. A home surrounded by mature evergreens, a roof with heavy shade across all usable planes, or a lot where the only clean exposure faces north may never produce attractive returns from an on-site array, even with optimizers and trimming. In those cases, community solar deserves serious consideration.
Community solar programs let you subscribe to a share of a larger off-site solar farm and receive credits on your utility bill, usually without any rooftop equipment or upfront installation. You get the bill savings and the renewable energy participation without fighting your tree canopy. The tradeoffs are that savings rates are typically lower than a well-sited rooftop system, availability depends on your utility territory, and subscription terms vary widely, so read the contract carefully for exit fees and escalation clauses.
The decision framework is straightforward. If a professional shade analysis shows that a rooftop array with module-level electronics can still deliver a reasonable payback period, rooftop solar usually wins on long-term economics. If the shade report shows persistent, unavoidable losses across every viable array position, community solar or a ground mount on a sunnier part of the property is the more rational path. Either way, the choice should be driven by measured data rather than optimism or sales pressure.
Practical Strategies That Pay Off
Mitigating shade is not about any single fix. It is a layered approach: understand the shade pattern, choose hardware that isolates panel performance, manage the landscape thoughtfully, and know when to walk away from a bad roof. Homeowners who invest in a proper site assessment and ask installers to model real scenarios consistently end up with systems that meet their production estimates instead of quietly underperforming them. Start with the shade report, compare optimizers and microinverters against your specific roof geometry, and keep trimming and relocation on the table as cost-effective alternatives. With the right combination, a partially shaded property can still be a strong solar candidate, and the savings will show up on every bill for decades.