Solar Panel Lifespan: Proactive Measures to Maximize Output
Extend your solar panel lifespan with proactive measures that maximize output. Call (833)-434-4023 for expert guidance on thermal management and maintenance.

By Wendy Young
Learn more about Solar Panel Installation and Repair for guides, costs, and what to expect.
Compare Solar Panel Installation and Repair Pros Near You

Enter your ZIP code to compare top-rated local professionals and request free quotes.
Your solar array is a long-term investment, and like any investment, it needs active management to deliver the returns you expect. Most homeowners focus on the installation day and then forget about the system until something breaks. That passive approach leaves money on the table. Panels degrade slowly, connectors corrode silently, and heat quietly erodes efficiency year after year. The good news is that a handful of targeted, proactive measures can extend your system's productive life well beyond the standard 25-year warranty window while keeping output near peak levels. This guide walks through the highest-impact actions you can take, from thermal management to early fault detection, and shows how to build them into a simple annual routine.
Why Proactive Care Beats Reactive Repair
Solar panels are remarkably durable, but they are not maintenance-free. Manufacturers typically guarantee around 80 to 85 percent of original output at year 25, yet real-world performance depends heavily on how the system is treated. Heat, moisture, debris, and loose connections all accelerate degradation. A panel that runs consistently hotter than its neighbors will lose efficiency faster, and a corroded connector can cause voltage drops that ripple through the entire string. Reactive repairs fix these problems after they have already cost you energy and money. Proactive measures prevent them from taking root.
The financial case is straightforward. A system that produces at 90 percent of its rated capacity for 30 years generates far more value than one that drops to 75 percent by year 20 because of neglected thermal issues or a failing inverter. Extending lifespan is not just about avoiding replacement costs; it is about protecting the revenue stream your panels were designed to create. Proactive maintenance also gives you documentation that can support warranty claims if a component fails prematurely. Most manufacturers require evidence of proper care, and a simple maintenance log can be the difference between a covered replacement and an out-of-pocket expense.
There is also a safety dimension. Loose connectors, corroded wiring, and debris accumulation can create fire risks or electrical hazards. Regular inspections catch these issues while they are still minor. The measures below are organized around the areas where proactive effort delivers the biggest return: thermal management, inverter health, connection integrity, vegetation control, and monitoring.
Thermal Management and Airflow: The Silent Efficiency Killer
Heat is the single most underappreciated threat to long-term panel health. Solar panels lose efficiency as their temperature rises above the standard test condition of 25 degrees Celsius (77 degrees Fahrenheit). For every degree above that threshold, output drops by roughly 0.3 to 0.5 percent, depending on the panel technology. On a hot roof in Arizona or Texas, panel temperatures can climb past 65 degrees Celsius, cutting output by 15 percent or more on peak summer days. Over years of repeated heat stress, the encapsulant and backsheet materials degrade faster, and microcracks can widen.
Proactive thermal management starts with installation choices that you can still influence or correct. Mounting systems that leave a gap between the panel and the roof surface allow convective airflow to carry heat away. If your panels are flush-mounted with minimal clearance, consider whether a retrofit is feasible. On ground-mounted arrays, orientation and tilt affect how much breeze reaches the back of the panels. Trimming vegetation that blocks airflow, not just sunlight, is an often-overlooked step. A row of shrubs that shelters the array from wind might seem harmless, but it can trap hot air and raise operating temperatures.
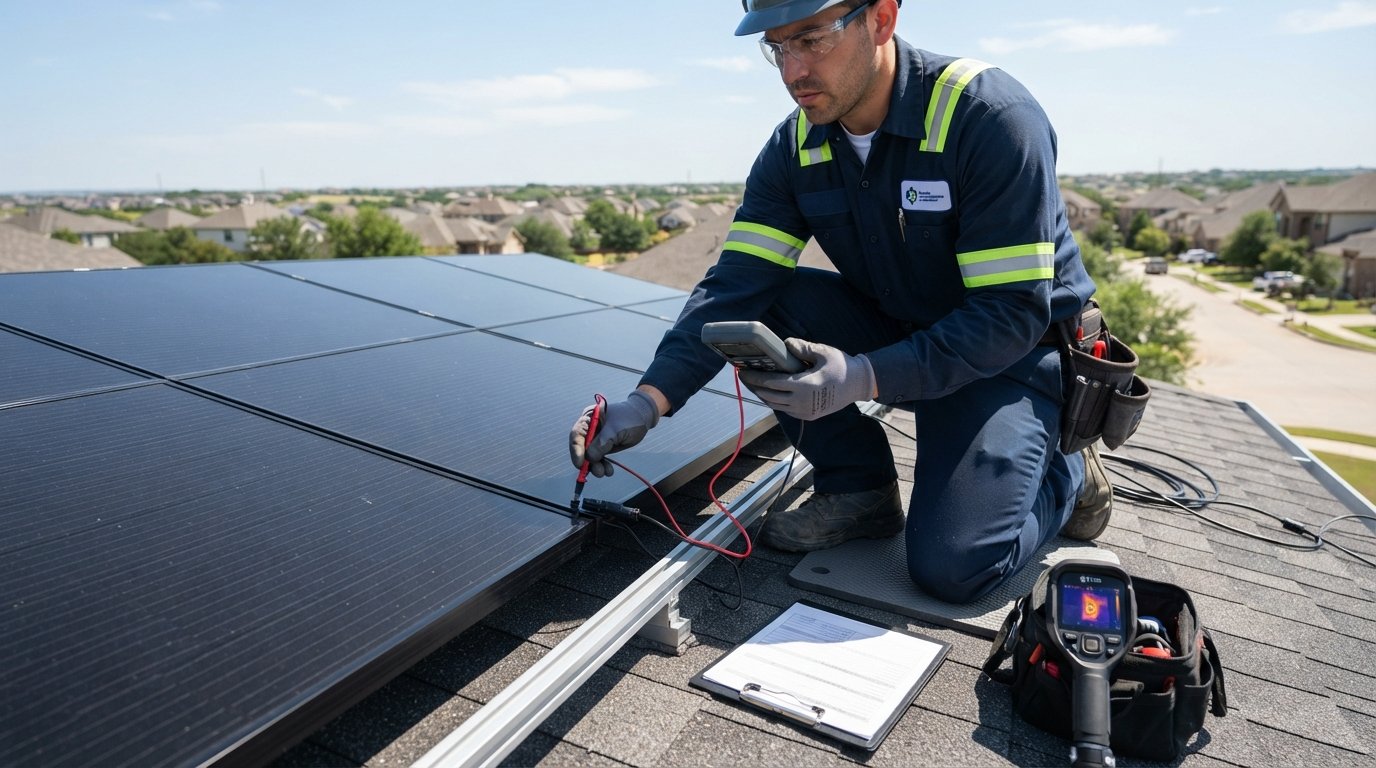
Cleaning also plays a thermal role. A layer of dust or pollen does more than block light; it insulates the panel surface and reduces its ability to shed heat. Regular cleaning, especially in dry, dusty climates, keeps both transmittance and thermal dissipation in better balance. If you notice that one section of your array consistently runs hotter, use a thermal camera or a handheld infrared thermometer to check for hotspots. Hotspots often indicate cell damage, shading, or a failing bypass diode, and catching them early prevents the heat from spreading and damaging adjacent cells.
Inverter Placement and Ventilation
The inverter is the most common point of failure in a solar system, and heat is its primary enemy. Most string inverters are rated for operation up to around 45 to 50 degrees Celsius ambient, but they derate output when internal temperatures climb. An inverter mounted in a garage that bakes in the afternoon sun, or on a south-facing wall with no shade, will run hotter and fail sooner. Proactive placement means choosing a location with good airflow, shade during the hottest part of the day, and enough clearance on all sides for convection. If your inverter is already installed in a poor location, a small shade structure or a relocation during a service visit can add years to its life.
Ventilation matters as much as shade. Enclosed cabinets or tight closets trap heat, so ensure the inverter has open space above and below for air to move. Check the manufacturer's clearance requirements and verify that installers respected them. During routine inspections, look for dust buildup on the inverter's cooling fins or fan vents. A soft brush or compressed air can clear debris that forces the unit to work harder. If the inverter has a fan, listen for unusual noise or check for error codes related to temperature. Addressing a clogged fan early is far cheaper than replacing a failed inverter.
Torque Checks, Connector Inspections, and Corrosion Prevention
Electrical connections are the weak links in any solar system. MC4 connectors, terminal blocks, and grounding points are exposed to thermal cycling, moisture, and ultraviolet radiation. Over time, the expansion and contraction of materials can loosen torque on terminal screws, increasing resistance and creating heat. A loose connection can arc, melt, or fail entirely. Proactive torque checks on a defined schedule catch these issues before they become failures.
The schedule should align with seasonal temperature swings. A practical approach is to inspect connections twice a year: once in spring before peak production and once in fall before winter storms. Use a calibrated torque wrench and follow the manufacturer's specifications for each terminal and connector. Do not overtighten, as that can strip threads or crack plastic housings. While checking torque, inspect for signs of corrosion: white or green powdery residue on terminals, discolored insulation, or rust on grounding hardware. Corrosion increases resistance, which reduces output and generates heat.
Corrosion prevention is largely about moisture management. Ensure that connectors are fully seated and that any exposed metal is protected with an appropriate dielectric grease or corrosion inhibitor, if recommended by the manufacturer. Check that junction boxes are sealed and that cable glands are tight. On ground-mounted systems, verify that the mounting structure's grounding connections are clean and tight. If you live in a coastal area, salt air accelerates corrosion dramatically, so inspections should be more frequent. A simple annual cleaning of terminals with a contact cleaner followed by a corrosion inhibitor can add years to connection life.
Here is a practical checklist for your connection inspection routine:
- Verify torque on all accessible terminal screws and connector nuts using a calibrated wrench.
- Inspect MC4 connectors for cracks, discoloration, or loose mating.
- Check grounding lugs and bonds for tightness and corrosion.
- Look for water intrusion in junction boxes and cable glands.
- Clean any corroded terminals and apply manufacturer-approved protectant.
Document each inspection with photos and torque values. This record supports warranty claims and helps you spot trends, such as a connector that loosens repeatedly, which may indicate a deeper alignment or thermal expansion issue.
Vegetation and Debris Management Year-Round
Shading is the most visible performance thief, but the problem is rarely static. Trees grow, vines spread, and debris accumulates in ways that change with the seasons. A proactive vegetation management plan prevents shading from creeping up on you. Start by mapping the sun's path across your array at different times of the year. Winter sun angles are lower, so trees that do not shade the array in summer may cast shadows in December. Identify any vegetation that encroaches on the array's solar window and schedule pruning before the shading occurs.
Debris management goes beyond leaves. Bird droppings, pollen, agricultural dust, and airborne soot all accumulate on the glass. In some regions, wildfire ash can coat panels for weeks. A regular cleaning schedule, typically two to four times per year depending on local conditions, keeps transmittance high. But cleaning is also an opportunity to inspect. While the panels are being cleaned, check for cracked glass, damaged frames, and loose mounting hardware. Look at the roof surface around the array for signs of water pooling or pest activity, such as rodent nests or chewed wiring.
Vegetation near ground-mounted arrays needs special attention. Tall grass and weeds can block airflow and create fire hazards. Keep a clear perimeter and trim vegetation before it seeds. If you have grazing animals, ensure they cannot rub against or damage the array. For rooftop systems, keep gutters clear so water does not back up under the panels, and trim overhanging branches to prevent physical damage during storms. A simple calendar reminder before each season is enough to stay ahead of these changes.
Monitoring and Early Fault Detection
You cannot fix what you do not measure. A monitoring system that tracks production at the inverter level, or better at the module level, is your first line of defense against premature degradation. Most modern inverters include monitoring, but many homeowners never set up alerts or review the data. Proactive monitoring means comparing actual production against expected production for the weather and season. A sudden drop of 10 percent or more that cannot be explained by clouds or temperature is a red flag.
Early fault detection relies on trends, not just snapshots. If one string consistently underperforms its neighbors, there is a problem: shading, a failing panel, a loose connection, or a bad bypass diode. Module-level monitoring makes this diagnosis faster, but even string-level data can reveal patterns. Set up automated alerts for production below a threshold and review the data weekly. Many monitoring platforms also flag ground faults, arc faults, and grid issues. Responding to these alerts promptly prevents small faults from becoming expensive failures.
For a deeper dive into system sizing and performance expectations, see our guide on how to maximize energy with a 200 watt solar panel, which explains how panel specifications translate into real-world output. Understanding your system's baseline helps you spot deviations early. If you prefer professional oversight, many solar service providers offer remote monitoring and annual inspection plans. When you need qualified help, you can find pre-vetted home improvement contractors through PlanRemodel's directory to handle electrical inspections or roof work that complements your solar maintenance.
Building Your Proactive Maintenance Calendar
The measures above are most effective when they become routine. A simple annual calendar keeps them from slipping through the cracks. Here is a sample schedule that balances effort and impact:
- Spring (before peak season): Clean panels, inspect and torque connections, check inverter ventilation, prune vegetation for summer shading.
- Summer (mid-season): Review monitoring data for performance trends, check for hotspots with an infrared thermometer, clear debris after storms.
- Fall (before winter): Second torque and corrosion inspection, clean gutters, trim trees for low winter sun angles, test emergency lighting and security systems if integrated.
- Winter (quarterly): Review monitoring alerts, check for snow or ice damage, verify inverter operation during cold snaps.
Adjust the frequency based on your local climate. Coastal homes need more frequent corrosion checks, dusty regions need more cleaning, and areas with heavy snow need winter-specific inspections. The key is consistency. A system that receives regular attention will outperform one that is only serviced when something breaks, and the documentation you build along the way protects your warranty and resale value.
Finally, remember that proactive measures are not just about hardware. They are about mindset. Treat your solar array as an active asset that deserves periodic review, and it will reward you with decades of reliable production. Start with the highest-impact items, thermal management and connection integrity, then layer in monitoring and vegetation control. Over time, these small actions compound into significant gains in both output and system longevity.