Solar Panel Installation Permit Inspection Timeline Explained
Understand each stage of the solar panel installation permit inspection timeline. Call 8334344023 to get matched with vetted local solar pros.

By Maya Hayes
Learn more about Solar Panel Installation and Repair for guides, costs, and what to expect.
Compare Solar Panel Installation and Repair Pros Near You

Enter your ZIP code to compare top-rated local professionals and request free quotes.
You have signed the contract, picked your panels, and marked the spot on your roof. Then comes the part that surprises almost every homeowner: the paperwork and inspections that stand between you and a switched-on system. The solar panel installation permit inspection timeline is not a single event. It is a chain of approvals, site visits, and utility sign-offs that can stretch from a few weeks to several months depending on where you live. Understanding each stage helps you plan realistically, avoid costly delays, and know exactly when your system can start producing power.
Why the Permit and Inspection Process Takes Time
Solar is a construction project, and every construction project touches building codes, electrical safety, and public utility rules. Your local building department wants to confirm that the mounting hardware can handle wind and snow loads. Your utility wants to confirm that your inverter will not send power onto lines when crews are working. These are reasonable checks, but each one adds a step to the calendar.
The timeline also varies enormously by jurisdiction. A city with a dedicated online solar permitting portal might approve plans in three business days. A rural county that reviews applications once a week might take three weeks for the same review. Add in utility processing queues, inspection scheduling windows, and the occasional revision request, and you can see why two neighbors in different states can have wildly different experiences.
One more factor matters: seasonality. Spring and summer are peak installation seasons, so inspectors and utility reviewers are busier. If your project lands in that window, expect scheduling to take longer than the same project would in January. Planning around these rhythms is one of the smartest things you can do before signing a contract.
The Full Solar Panel Installation Permit Inspection Timeline, Stage by Stage
While every project is unique, most residential solar installations in the United States follow the same general sequence. The stages below represent the typical flow from signed contract to permission to operate, often abbreviated as PTO.
Stage 1: Site Assessment and System Design (1 to 3 Weeks)
Before anyone files a permit, your installer needs to evaluate your property. This includes a roof inspection, an analysis of your electrical panel, a review of your utility bills, and often a shade study. The design team then produces a stamped plan set that shows panel layout, wiring diagrams, structural attachments, and equipment specifications.
This stage is where good installers separate themselves. A thorough design reduces the chance of revision requests later. If your electrical panel is outdated or your roof needs repair, addressing those issues now prevents the building department from rejecting your application down the road.
Stage 2: Permit Application and Review (1 to 6 Weeks)
Your installer submits the permit package to your local building department, and sometimes to a separate electrical authority as well. The review checks structural integrity, electrical compliance, and zoning rules such as setback requirements. Many jurisdictions now offer expedited solar permitting through programs like SolarAPP+, which can cut review time to a few days.
If the reviewer finds problems, they issue comments and your installer must revise and resubmit. Each revision cycle can add one to two weeks. Common issues include missing structural calculations, unclear disconnects, or incomplete site plans. This is why experienced installers build a small buffer into their schedules.
Stage 3: Utility Application and Interconnection Review (2 to 8 Weeks)
In parallel with or shortly after the building permit, your installer files an interconnection application with your utility. The utility studies how your system will interact with the grid. Small residential systems usually qualify for a simplified review, but larger systems or areas with high solar penetration may require a more detailed study.
Utilities also process net metering or net billing agreements at this stage. These agreements determine how you are credited for the excess power your panels send to the grid. Because utility queues can be long, this step is often the single biggest variable in the entire timeline. Some utilities complete review in two weeks; others take two months.
Stage 4: Installation Day (1 to 3 Days)
Once permits are approved, your installer schedules the physical work. A typical residential installation takes one to three days, depending on system size, roof complexity, and whether battery storage is included. The crew mounts the racking, installs the panels, runs conduit, and connects the inverter.
At the end of installation, your system is physically complete but not yet energized. The inverter stays off until inspections and utility approval are finished. This waiting period surprises many homeowners, but it exists to protect line workers and your own equipment.
Stage 5: Local Building and Electrical Inspection (1 to 3 Weeks)
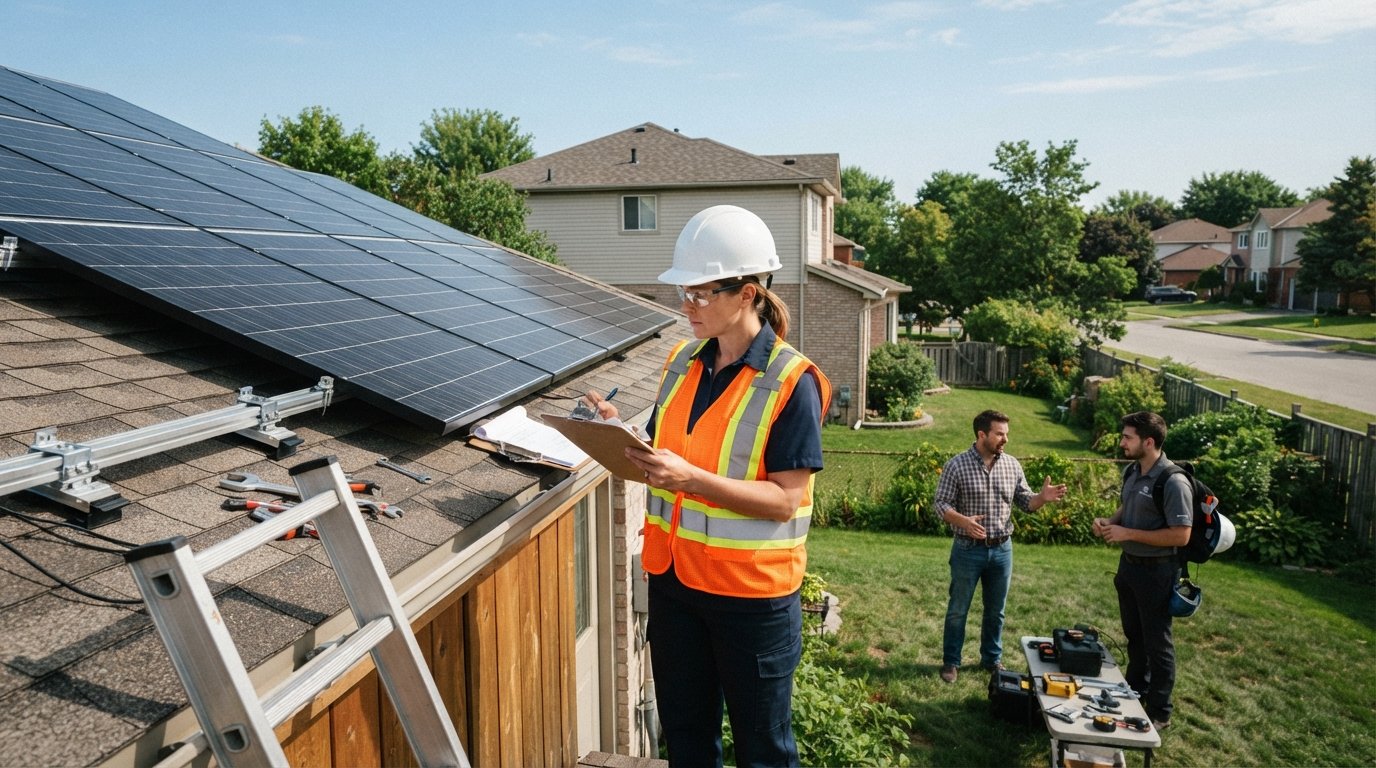
The building department sends an inspector to verify that the installation matches the approved plans and meets code. The inspector checks structural attachments, grounding, disconnects, labeling, and conduit work. If everything passes, the department issues a final approval or a signed inspection card.
If the inspector finds issues, they issue a correction notice. Your installer fixes the problem and schedules a re-inspection, which can add another one to two weeks. Minor issues like missing labels are common and usually quick to resolve, but they still consume calendar time.
Stage 6: Utility Inspection and Meter Installation (1 to 4 Weeks)
After local approval, the utility may send its own inspector or simply review the signed paperwork. If a meter upgrade or a bidirectional meter is required, the utility schedules a crew to install it. Only after this step does the utility grant permission to operate.
Permission to operate is the green light. Once you receive it, you can switch on your system and begin generating power. From signed contract to PTO, the full solar panel installation permit inspection timeline typically runs six to twelve weeks, though it can stretch longer in slow jurisdictions or busy seasons.
Typical Timeline at a Glance
Here is a simplified snapshot of how the stages stack up for a standard residential project. Keep in mind that many of these steps overlap, and your actual dates will depend on your city, utility, and installer workload.
- Site assessment and design: 1 to 3 weeks
- Building permit review: 1 to 6 weeks
- Utility interconnection review: 2 to 8 weeks (often parallel)
- Installation: 1 to 3 days
- Local inspection: 1 to 3 weeks
- Utility inspection and meter: 1 to 4 weeks
Notice that design, permitting, and utility review can run at the same time in well-managed projects. A skilled installer sequences submissions to shave weeks off the total. When you compare quotes, ask each company how they handle parallel processing, because it directly affects how soon your panels turn on.
What Slows Down a Solar Permit Inspection Timeline
Delays rarely come from a single dramatic problem. They accumulate from small, predictable friction points. Knowing them in advance lets you and your installer stay ahead.
The most common culprits include incomplete permit applications, outdated electrical panels that need upgrading before approval, structural questions about older roofs, utility queues during peak season, and homeowner association reviews that run on their own schedule. Historic districts and areas with strict aesthetic rules can add weeks of design back-and-forth.
Weather plays a role too, though less than most people assume. Rain delays installation by a day or two, but the bigger seasonal effect is inspection scheduling. Many building departments have limited inspector availability, and slots fill quickly in summer. If your project can be installed in the shoulder seasons, you may sail through inspections while others wait.
Homeowners can help by responding quickly to document requests, clearing access to the electrical panel and attic, and confirming that anyone with authority over the property (a spouse, a co-owner, or an HOA) is ready to sign. Small responsiveness gains compound across six stages.
How to Speed Up Permits and Inspections
You cannot control your utility's queue, but you can control many of the inputs. The most effective strategy is choosing an installer who treats permitting as a core competency rather than an afterthought. Ask how many projects they complete in your specific city and utility territory each year.
You can also prepare your home before the process begins. Upgrade an old electrical panel early, trim trees that could complicate roof access, and gather your utility account details and recent bills in one place. If your area offers instant online permitting, confirm that your installer uses it.
Timing matters as well. If you are flexible, aim to sign a contract in late winter or early spring so your permit and utility reviews land before the summer rush. For a deeper look at seasonal planning, our guide on the best time to install solar panels walks through how weather, incentives, and utility workloads interact across the year.
Finally, keep your expectations calibrated. A project that takes eight weeks is not slow; it is normal. A project that takes sixteen weeks is not necessarily a failure either, especially in dense urban areas or territories with high solar adoption. What matters is that your installer communicates status clearly at every stage.
Working With a Vetted Installer Makes the Difference
Because the solar panel installation permit inspection timeline depends so heavily on local knowledge, the company you choose matters as much as the equipment on your roof. An installer who knows your building department's quirks, your utility's review preferences, and your state's incentive paperwork can compress months of friction into weeks.
This is where a platform built for solar homeowners helps. SolarEnergy.ai connects you with vetted local solar professionals, offers a solar savings calculator to estimate your return before you commit, and maintains guides on incentives, costs, and system design. Instead of cold-calling contractors, you can compare qualified installers who already understand your jurisdiction and can give you a realistic timeline up front. For homeowners who want independent educational context before choosing an installer, resources like NewSolarQuotes provide additional cost and savings analysis to round out your research.
When you request quotes through a trusted network, ask each installer three questions: How long does permitting usually take in my city? How do you handle utility interconnection? And what is your average time from contract to permission to operate? The answers will tell you more about your likely timeline than any generic estimate.
After Permission to Operate: What Comes Next
Once your system is energized, the permitting story is over but the ownership story begins. You will want to monitor production through your inverter app, keep an eye on your first few utility bills to confirm net metering is working, and schedule occasional panel cleaning and inspection. Many homeowners also register their system warranty and bookmark their incentive paperwork for tax season.
It also helps to keep copies of every approval, inspection card, and utility agreement in one folder. If you ever sell your home, those documents become selling points. Buyers increasingly ask about solar system age, production history, and whether the warranty transfers, and having a clean paper trail makes the handoff smooth.
The solar panel installation permit inspection timeline is best understood as a relay race rather than a single sprint. Each stage hands off to the next, and the baton only crosses the finish line when your utility grants permission to operate. By understanding the sequence, preparing your home, and partnering with an experienced local installer, you can move through the process with far fewer surprises and start enjoying lower electric bills sooner.