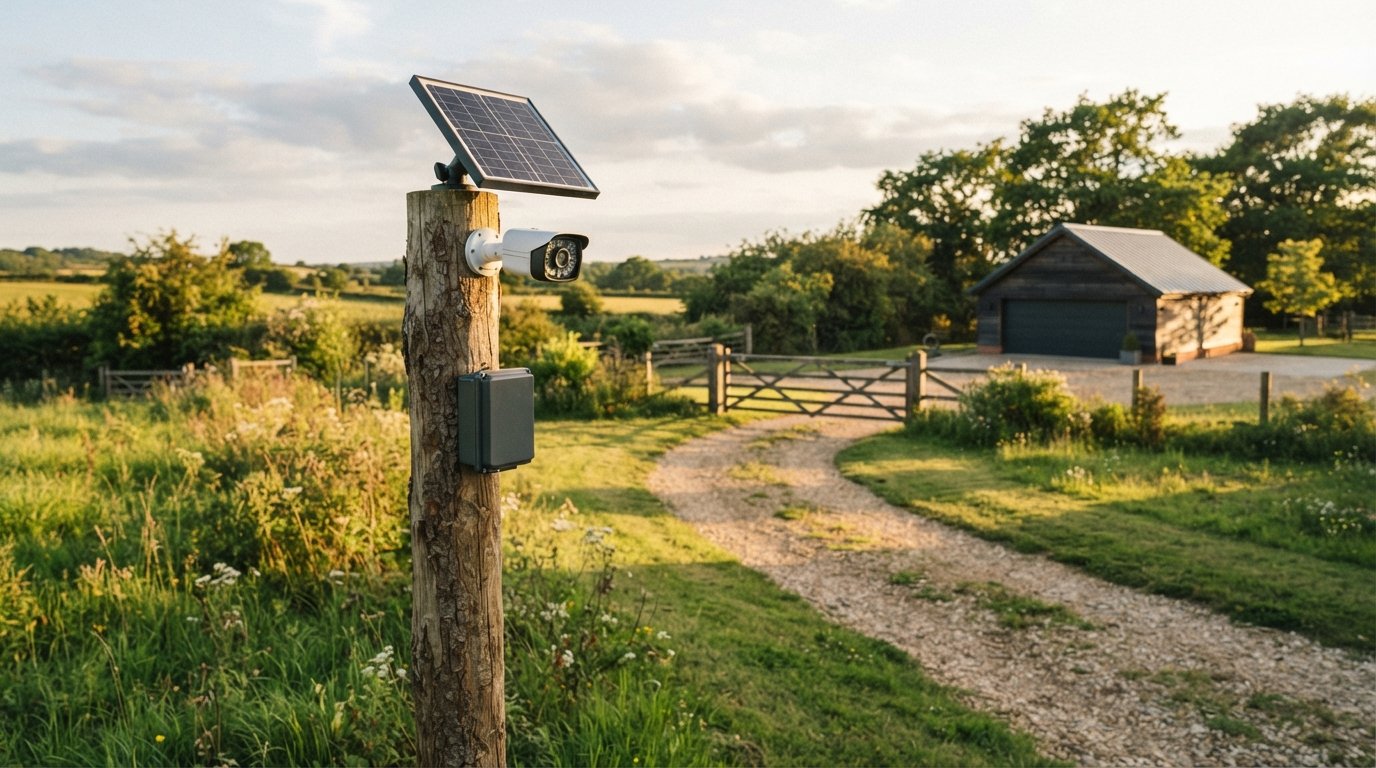
Integrating Security Camera Systems With Solar Power
Integrating security camera systems with solar power keeps surveillance running through outages and cuts installation costs. Here is how to size and install a reliable setup.

By Dylan Harris
Learn more about Solar Panel Installation and Repair for guides, costs, and what to expect.
Compare Solar Panel Installation and Repair Pros Near You

Enter your ZIP code to compare top-rated local professionals and request free quotes.
You have probably seen the frustration firsthand: a security camera that goes dark the moment the power grid fails, or a mounting location so far from an outlet that running conduit would cost more than the camera itself. Solar power removes both problems. By pairing a photovoltaic panel with a battery bank and a low-voltage camera, you can place surveillance exactly where it matters most, whether that is a back gate, a detached garage, a job site trailer, or a remote corner of a large property. The technology has matured to the point where a well-designed solar camera system can run reliably for years with almost no maintenance, and in many cases it pays for itself faster than homeowners expect.
This guide walks through how integrating security camera systems with solar power actually works, what hardware you need, how to size the system correctly, and where the common failure points hide. It also covers the practical realities that installers and homeowners face in the United States, including local codes, seasonal sunlight swings, and how solar surveillance fits into a broader home energy strategy. If you are already looking at solar for your home, the same infrastructure and expertise that powers your house can power your cameras, which is one more reason to think about both projects together.
Why Solar Powered Security Cameras Are Gaining Ground
The core appeal is simple: independence from the grid. A traditional wired camera needs a power run, which means trenching, conduit, an electrician, and a permit in many jurisdictions. A solar camera needs sunlight and a place to mount a panel. That difference alone can cut installation costs by hundreds or even thousands of dollars depending on distance and terrain. For renters, temporary structures, and properties where digging is impractical, solar is often the only realistic option.
Reliability is the second driver. During a blackout, grid-tied cameras go offline exactly when security matters most. A solar camera with a properly sized battery keeps recording through outages, storms, and rolling brownouts. For businesses monitoring remote assets, construction sites, or agricultural operations, that continuous uptime is not a luxury, it is the entire point of the system.
There is also a sustainability angle that resonates with a growing share of homeowners. A small solar panel and a lithium battery can keep a camera running for years with no draw on the grid, which aligns with broader home energy goals. If you are already tracking your solar production and consumption, adding surveillance to the same solar ecosystem is a natural extension. In fact, tools like solar system performance analytics can help you understand how much surplus energy your array produces, which is useful context when deciding whether to add more loads like cameras and networking gear.
How a Solar Security Camera System Actually Works
At its core, a solar camera setup is a small off-grid power system. A photovoltaic panel converts sunlight into direct current electricity. That power flows through a charge controller, which regulates voltage and prevents the battery from overcharging or draining too deeply. The battery stores energy for nighttime and cloudy periods. An inverter may be needed if the camera runs on alternating current, though most modern security cameras are designed for low-voltage DC operation, which eliminates that conversion step and improves efficiency.
The camera itself is typically a Wi-Fi or cellular model with local storage, cloud storage, or both. Many solar-ready cameras include built-in batteries and a dedicated solar input, which simplifies wiring but limits panel size. More robust installations use a separate solar panel, a larger battery, and a camera with a standard power input. The choice depends on how much uptime you need, how much sunlight the location receives, and whether you want to monitor the feed in real time or simply record events.
Understanding the power budget is the single most important design step. Every device in the chain draws power, and every source of loss matters. A camera that draws 5 watts continuously will consume 120 watt-hours per day. Add a Wi-Fi radio, a cellular modem, or a small heater for cold climates, and the daily requirement can easily double. The solar panel must generate enough energy to cover that daily load plus a buffer for cloudy days, and the battery must store enough to carry the system through the longest expected period without meaningful sun.
Key Components and Their Roles
A complete solar surveillance system typically includes the following elements. Each one affects performance, cost, and installation complexity.
- Solar panel: Sized to the daily energy demand plus a 30 to 50 percent buffer for inefficiency and cloudy weather.
- Charge controller: Regulates power from the panel to the battery, protecting against overcharge and deep discharge.
- Battery: Stores energy for nighttime and low-sun periods; lithium iron phosphate (LiFePO4) is the current standard for safety and cycle life.
- Camera and networking gear: The surveillance device plus any Wi-Fi, cellular, or PoE equipment needed to transmit video.
- Mounting hardware and enclosure: Weatherproof housing, brackets, and cable management to survive wind, rain, and temperature swings.
Choosing components that work well together matters more than chasing the highest specs on any single part. A large panel paired with an undersized battery will still fail during a long cloudy stretch. A high-efficiency camera paired with a weak charge controller can lose power unexpectedly. The goal is a balanced system where every component supports the others.
Sizing the System: A Practical Framework
Sizing starts with the camera's power draw, measured in watts. Multiply watts by 24 hours to get daily watt-hours. If the camera draws 6 watts, that is 144 watt-hours per day. Add 20 to 30 percent for conversion losses and parasitic loads, which brings the requirement to roughly 175 to 190 watt-hours per day. Next, determine the peak sun hours for your location. In the United States, this ranges from about 3 hours in the Pacific Northwest to over 6 hours in the Southwest. Divide daily watt-hours by peak sun hours to get the minimum panel size in watts. For 180 watt-hours and 4 peak sun hours, you need at least 45 watts of panel capacity, and more if you want a buffer.
Battery sizing follows a similar logic. Decide how many days of autonomy you need. One day is common for locations with reliable sun; three days is safer for areas with frequent cloud cover. Multiply daily watt-hours by the number of autonomy days, then divide by the battery's usable depth of discharge. A lithium battery can typically discharge to 80 or 90 percent without harm, while lead-acid should stay above 50 percent. For 180 watt-hours per day and two days of autonomy, you need 360 watt-hours of usable storage. At 80 percent depth of discharge, that means a battery rated for at least 450 watt-hours.
These calculations are a starting point, not a substitute for site-specific analysis. Shading from trees or buildings, panel tilt, and seasonal sun angle all affect real-world output. A site that looks sunny in summer may be shaded for hours in winter. If you are unsure, it is worth consulting a professional who can model the location and recommend a system that will not leave you with dead cameras in January.
Installation Steps and Best Practices
Installing a solar camera system is within reach for a competent DIYer, but the details determine whether it lasts five years or five months. Start by mapping your surveillance goals: which areas need coverage, what resolution and frame rate you need, and whether you want continuous recording or motion-triggered clips. That determines camera placement, which in turn determines where the panel and battery must go.
Next, verify sun exposure at the panel location. Use a solar pathfinder, a smartphone app, or simply observe the site at different times of day. The panel should face south in the northern hemisphere, with a tilt roughly equal to your latitude for year-round performance. Avoid mounting the panel where it will be shaded by the camera housing, a roof overhang, or vegetation that will grow over time.
Wiring should be planned before anything is mounted. Keep cable runs as short as practical to reduce voltage drop, and use UV-rated cable for any exposed runs. Seal every penetration with appropriate caulk or grommets to prevent water intrusion. Mount the battery in a location that stays within its operating temperature range; extreme heat shortens lithium battery life, and extreme cold reduces capacity.
Commissioning is the final step. Verify that the panel is charging, the battery is accepting charge, and the camera powers on and connects to your network. Monitor the system for the first few weeks, especially during weather events, and adjust panel tilt or add capacity if the battery voltage drops lower than expected. A simple voltage log or a smart charge controller with monitoring can give you early warning of problems.
Common Pitfalls and How to Avoid Them
Most solar camera failures trace back to a handful of avoidable mistakes. Undersizing the battery is the most common: a panel that produces plenty of energy on a sunny day cannot compensate for a battery that cannot store it. Skipping the charge controller is another frequent error, leading to overcharged or deeply discharged batteries and premature failure. Poor weatherproofing causes corrosion and intermittent connections that are frustrating to diagnose.
Network reliability is often overlooked. A solar camera may have plenty of power but no way to transmit video if the Wi-Fi signal is weak or the cellular plan has data caps. Test connectivity before finalizing the installation, and consider a local storage option as a backup for when the network is unavailable. Finally, do not ignore physical security. A solar panel and battery are attractive targets; use tamper-resistant mounts and consider a camera that covers its own power source.
Integrating With a Whole-Home Solar Strategy
Solar surveillance is most cost-effective when it is part of a broader energy plan. If you are already installing solar panels for your home, the incremental cost of adding a small dedicated circuit or battery for cameras is modest, and you gain the ability to monitor and manage everything through a single ecosystem. Some homeowners use their home battery system to keep security cameras running during outages, which provides the same resilience as a dedicated solar camera without the extra hardware.
For businesses and larger properties, the calculus is similar but the stakes are higher. A solar-powered camera network can cover gates, parking lots, and remote buildings without trenching power lines. When paired with an energy audit, you can identify exactly how much power the surveillance system needs and whether your existing solar array has the capacity to support it. If you are considering a larger investment, getting quotes from vetted installers is a sensible first step. You can compare free solar quotes to understand pricing and options in your area before committing.
It is also worth checking available incentives. Federal and state programs that support solar installations may also apply to battery storage, and some utilities offer rebates for off-grid or resilient power systems. These programs change frequently, so verify current details with official sources or a qualified installer before relying on any specific credit or rebate.
Maintenance and Long-Term Performance
Solar camera systems are low maintenance, but not zero maintenance. Panels need occasional cleaning to remove dust, pollen, and bird droppings; a dirty panel can lose 20 percent or more of its output. Batteries degrade over time, typically retaining 80 percent of their original capacity after several thousand cycles. Monitoring battery voltage and camera uptime gives you early warning that a replacement is due.
Inspect mounts and cable seals annually, especially after severe weather. Check that the panel angle has not shifted and that vegetation has not grown into the sun path. If the system includes a cellular modem, review data usage to avoid overage charges. These simple checks take less than an hour a year and can double the useful life of the system.
For homeowners who want a hands-off approach, professional monitoring and maintenance plans are available through many solar installers. These plans typically include remote diagnostics, periodic site visits, and battery replacement when needed. The cost is usually modest compared to the value of continuous surveillance and the avoided hassle of troubleshooting a failing system on your own.
Frequently Asked Questions
How many watts of solar do I need for a security camera?
It depends on the camera's power draw and your location's peak sun hours. A typical low-power camera drawing 5 watts continuously needs about 120 watt-hours per day. In an area with 4 peak sun hours, that requires at least a 30-watt panel, plus a buffer for cloudy days. Higher-draw cameras with heaters or pan-tilt-zoom motors may need 100 watts or more.
Can I use a solar panel to power an existing wired camera?
Yes, but you will need an inverter to convert the panel's DC output to the AC voltage the camera expects, or a camera that accepts DC input directly. Inverters add cost and efficiency losses, so it is often more practical to choose a camera designed for solar or low-voltage DC operation.
What happens during a long cloudy period?
The battery carries the load. If the battery is sized for two or three days of autonomy, the system will keep running through most weather events. For extended cloudy periods, you may need a larger battery, a backup charger, or a camera with lower power consumption.
Are solar security cameras allowed in my area?
In most U.S. jurisdictions, yes. However, some homeowners associations and local codes restrict panel placement or require permits for exterior wiring. Check with your HOA and local building department before installing, especially if you are mounting a panel on a roof or running cable through walls.
Integrating security camera systems with solar power is one of the most practical ways to extend surveillance to places the grid cannot easily reach. The technology is proven, the components are widely available, and the benefits, from outage resilience to lower installation costs, are tangible. Whether you are protecting a single back door or a sprawling commercial site, a well-designed solar camera system delivers reliable coverage without the complexity of traditional power runs. As solar adoption continues to grow across the United States, pairing surveillance with renewable power will only become more common, and more affordable, in the years ahead.