Emergency Lighting Design for Home Solar Backup
Design a reliable emergency lighting plan for home solar backup. Call (833)-434-4023 for expert guidance on fixtures, wiring, and code compliance.

By Ryan Brooks
Learn more about Solar Panel Installation and Repair for guides, costs, and what to expect.
Compare Solar Panel Installation and Repair Pros Near You

Enter your ZIP code to compare top-rated local professionals and request free quotes.
When the grid goes down, the first thing you reach for is a light. For homeowners with solar and battery backup, the ability to keep a few critical lights on during an outage is not just a convenience, it is a cornerstone of safety and comfort. But haphazardly plugging in a few flashlights does not constitute a design. A thoughtful emergency lighting plan for your home solar backup system ensures that you have reliable illumination exactly where and when you need it, without draining your battery reserves. This guide walks you through the essential considerations, from room-by-room planning to code compliance and maintenance, so you can build a resilient lighting strategy that works seamlessly with your solar energy investment.
Mapping Your Home's Critical Lighting Zones
Before selecting fixtures or wiring circuits, start by identifying the areas that absolutely must have light during a power outage. The goal is to illuminate paths of travel and essential tasks while minimizing energy draw on your battery. Focus on these key zones:
- Egress paths: Hallways, stairwells, and entryways need enough light to navigate safely. These are your top priority because they facilitate evacuation if necessary.
- Bedrooms: Each sleeping area should have a light source that can be activated quickly, ideally near the bed, to prevent disorientation and falls during a nighttime outage.
- Bathrooms: A dim, battery-backed light in the bathroom supports basic hygiene and safety without requiring a generator.
- Kitchen: A single, focused light over the counter or stove area allows for food preparation and access to supplies.
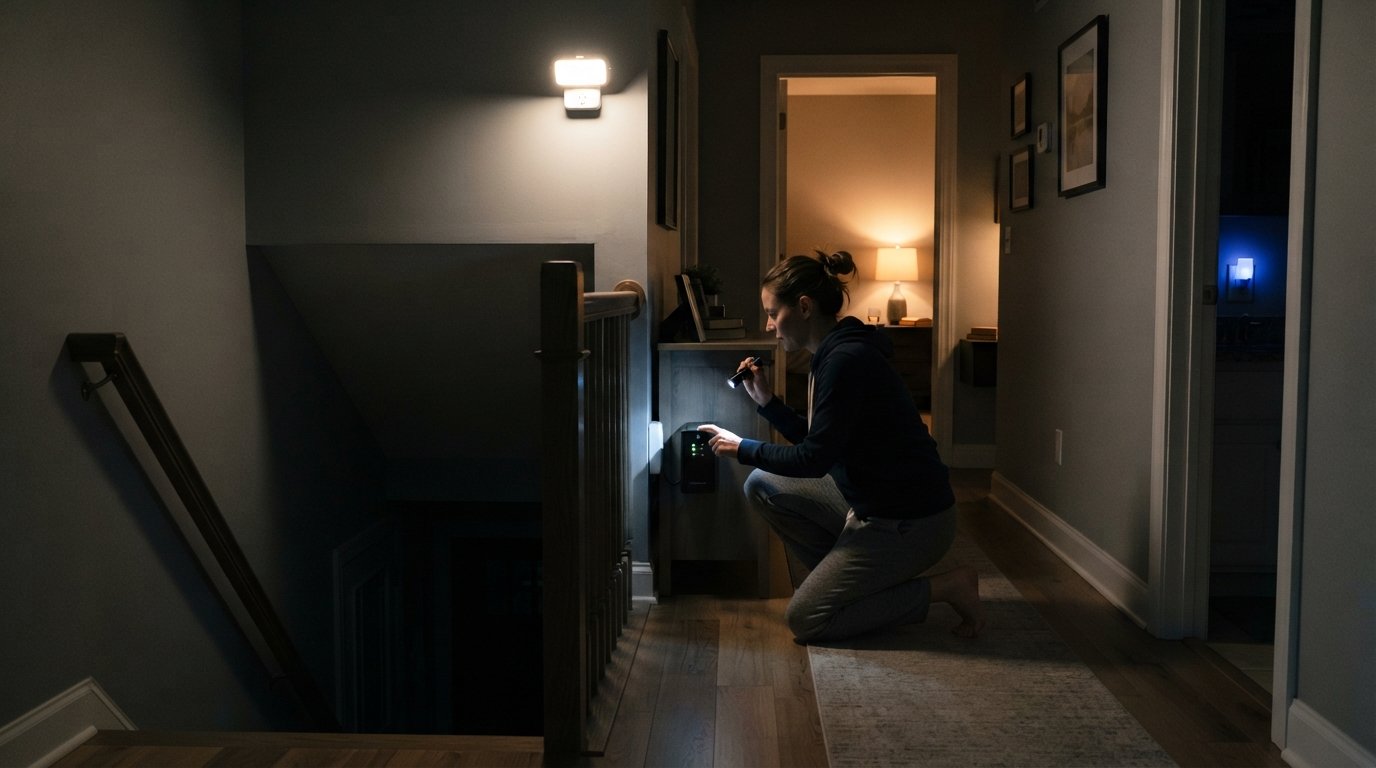
- Utility or mechanical room: If you need to access your solar inverter, battery bank, or electrical panel, you will need light there. A small, battery-backed fixture is often sufficient.
Walk through your home at night and imagine moving from your bedroom to the front door or to the kitchen. Note where ambient light from windows or battery-powered devices is insufficient. This exercise will reveal the true critical paths. Keep in mind that you do not need to light every room; instead, create a layered plan that covers the essentials with minimal load. For more advanced strategies on optimizing energy use during outages, see our guide on how AI improves energy efficiency for home solar.
Choosing the Right Fixtures: Battery-Backed LEDs vs. Solar-Powered Standalone Lights
Two primary categories of emergency lighting exist for homeowners with solar backup: fixtures wired to your home's critical load panel and backed by your solar battery, and standalone solar-powered lights that operate independently. Each has distinct advantages and trade-offs.
Battery-backed LED fixtures are wired into your home's electrical system and draw power from your solar battery during an outage. These can be existing ceiling fixtures or dedicated emergency lights that automatically switch on when grid power is lost. The main benefit is integration: they use your existing battery storage and can be controlled by smart home systems. However, they require professional wiring to a critical load panel and consume some of your battery capacity.
Solar-powered standalone emergency lights are self-contained units with their own small solar panel, battery, and LED. They are typically mounted on walls or placed on tables and require no wiring. They are cost-effective, easy to install, and do not burden your main battery. The downside is that they need access to sunlight for charging (though many have USB backup) and may not provide the same level of illumination as wired fixtures. They are ideal for renters or as a supplement to a wired system.
For most homeowners with a solar plus storage system, a hybrid approach works best: wire a few key fixtures to your critical load panel for reliable, automatic illumination, and supplement with portable solar lights for flexibility. When planning your system, consider the load each fixture adds. A single 10-watt LED running for 8 hours consumes 80 watt-hours, which is negligible for a typical home battery. However, ten such fixtures would draw 800 watt-hours, which could impact your reserve. Prioritize efficiency by choosing ENERGY STAR rated LEDs and using motion sensors or timers where appropriate.
Wiring Emergency Circuits to Your Critical Load Panel
Integrating emergency lighting with your solar backup requires a clear understanding of your electrical panel and battery system. Most home solar backup systems have a critical load panel (also called a backup loads panel) that is powered by the battery during an outage. To have emergency lights operate automatically, you must connect the lighting circuits to this panel.
The process typically involves:
- Identifying which existing lighting circuits serve your critical areas (e.g., hallway, bedroom).
- Working with a licensed electrician to move those circuits from your main panel to the critical load panel.
- Installing dedicated emergency fixtures or converting existing fixtures to battery-backed operation if your inverter supports it.
- Ensuring proper labeling and testing of the new configuration.
This is not a DIY task for most homeowners. Electrical codes and safety standards require precise execution. Moreover, your inverter and battery system must be sized to handle the additional load. If you are unsure about your system's capacity, consult a professional. Many solar installers offer energy audits and can help you design a backup plan that includes lighting. If you are also planning a move, resources like Moving.Homes provide checklists and tips for transferring or upgrading home energy systems.
For those with existing solar, adding emergency lighting may also be an opportunity to upgrade to a smart electrical panel that can prioritize circuits automatically. Such panels allow you to designate lighting circuits as critical and shed non-essential loads during an outage, extending your battery runtime. Always verify local building codes, as some jurisdictions require dedicated emergency lighting in specific rooms regardless of backup power.
Brightness, Runtime, and Code Considerations
Emergency lighting design is not just about having any light; it is about having the right amount of light for the duration needed. The Illuminating Engineering Society (IES) and local building codes provide guidelines, though residential requirements are less stringent than commercial ones. As a rule of thumb, aim for at least 1 foot-candle (about 10 lux) along egress paths, which is roughly equivalent to a 10-watt LED bulb. For task areas like kitchens, 30-50 foot-candles is preferable.
Runtime is equally important. Determine how long you want your emergency lights to operate. A typical approach is to design for 8-12 hours of operation, covering the first night of an outage. Calculate the total watt-hours by multiplying the wattage of each emergency fixture by the hours of use. For example, if you have four 10-watt LEDs running for 10 hours, that is 400 watt-hours. Ensure your battery has enough capacity to cover this load in addition to other critical loads like refrigeration or medical equipment.
Code considerations vary by location. The National Electrical Code (NEC) Article 700 covers emergency systems, but it primarily applies to commercial and institutional buildings. For residential, local codes may reference NEC or have their own provisions. Some states require that new homes have at least one battery-backed light in hallways. It is wise to check with your local building department. Even if not mandated, installing emergency lighting improves safety and can be a selling point for your home. Additionally, if you have a home office or medical equipment, you may have specific requirements.
Testing and Maintenance: Ensuring Reliability When It Matters
An emergency lighting system is only as good as its last test. Regular maintenance ensures that when the grid fails, your lights will work. Develop a simple testing routine:
- Monthly: Press the test button on each battery-backed fixture (if available) to verify the battery and bulb. For wired systems, simulate an outage by turning off the main breaker briefly (only if safe and you know how) or use your inverter's test mode.
- Annually: Perform a full 30-minute discharge test on each emergency light. For solar standalone lights, clean the solar panel and check battery health.
- Every 3-5 years: Replace batteries in standalone units and consider upgrading to newer, more efficient LEDs.
Keep a log of tests and replacements. If you have a smart home system, you may be able to automate testing and receive alerts. Some modern inverters and batteries have built-in diagnostics that report on backup circuit health. Integrate this with your overall solar maintenance schedule. Remember that extreme temperatures affect battery performance; if your emergency lights are in unconditioned spaces, check them more frequently. By treating your emergency lighting as a vital system, you ensure peace of mind for years to come.
Designing emergency lighting for home solar backup is a practical investment in resilience. With careful planning, the right fixtures, and a commitment to maintenance, you can navigate outages with confidence, knowing that your solar investment is lighting the way.
Learn more about Solar Panel Installation and Repair for guides, costs, and what to expect.
Compare Solar Panel Installation and Repair Pros Near You
Enter your ZIP code to compare top-rated local professionals and request free quotes.